How to Crochet a Teddy Bear: Easy Free Amigurumi Pattern for Beginners
rochet Patterns Idea | Free Amigurumi Pattern | Beginner-Friendly Tutorial
How to Crochet a Teddy Bear: Easy Free Amigurumi Pattern for Beginners
There’s something special about a handmade teddy bear. Its soft texture, rounded ears, tiny paws, and sweet little face make it one of the most lovable crochet projects. Whether you’re looking for a thoughtful handmade gift, decorating a cozy bedroom, or expanding your amigurumi collection, learning how to crochet a teddy bear is a wonderful place to start.
The good news is that you don’t need advanced crochet skills to make an adorable bear. With basic single crochet stitches, simple increases and decreases, and a little sewing, you can create a charming stuffed animal using only a few supplies.
This free crochet teddy bear pattern from Crochet Patterns Idea will guide you through making a rounded head, cute cream-colored muzzle, two small ears, a stuffed body, arms, legs, and a tiny tail. You’ll also learn how to assemble the pieces, embroider a friendly face, and customize your teddy bear with your favorite yarn colors.
The finished design features warm caramel-brown yarn, cream accents, an embroidered smile, and optional pink cheeks. It’s an adorable project for anyone who enjoys handmade woodland animals and classic teddy bears.
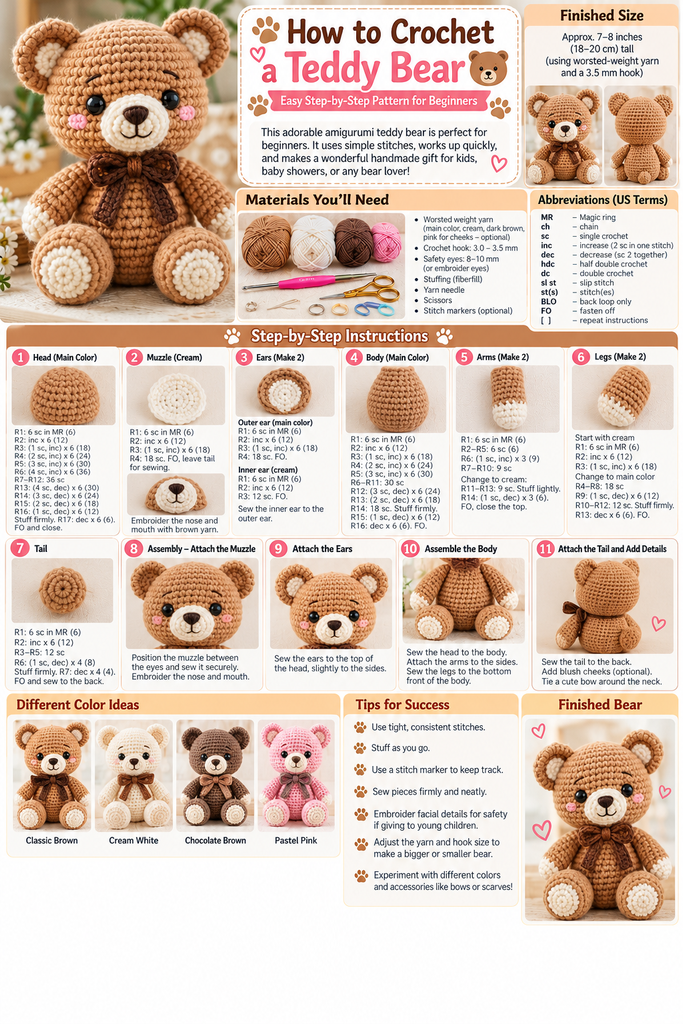
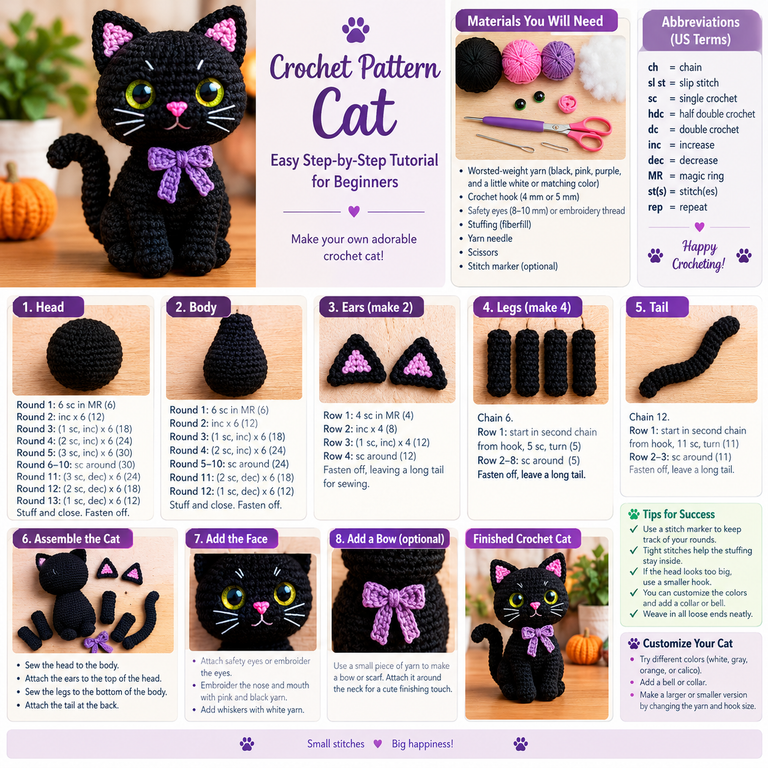
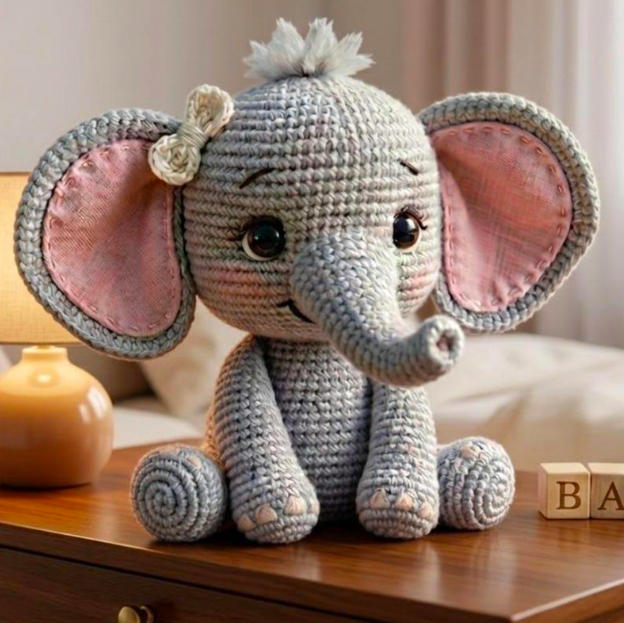
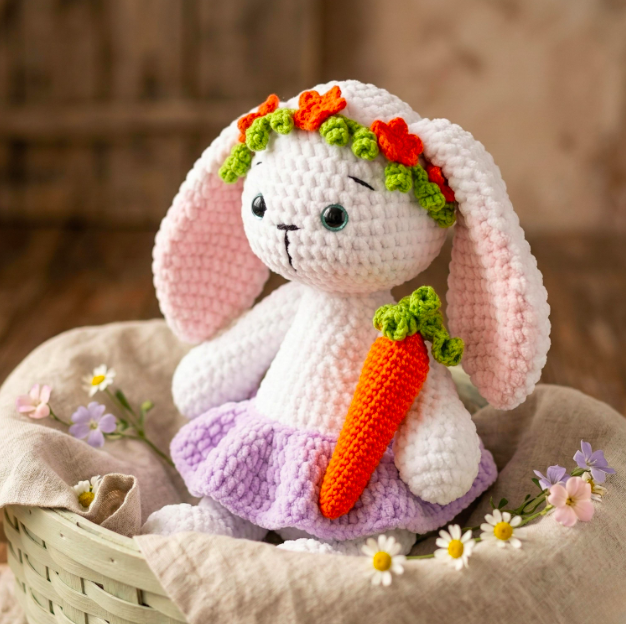
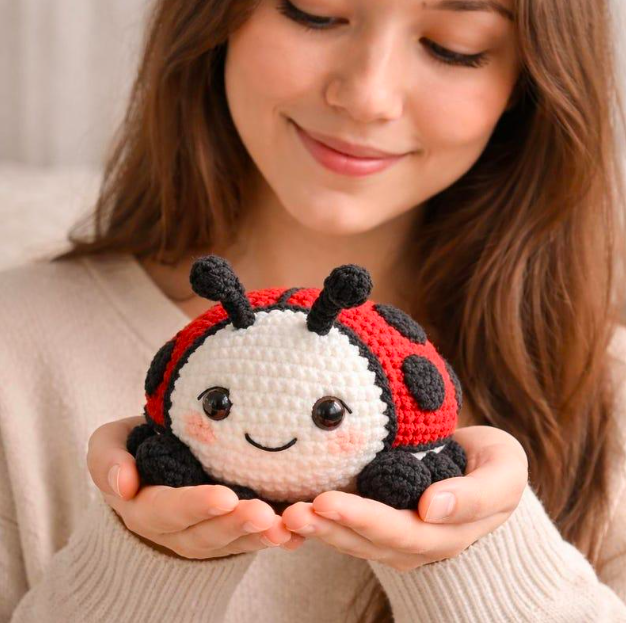
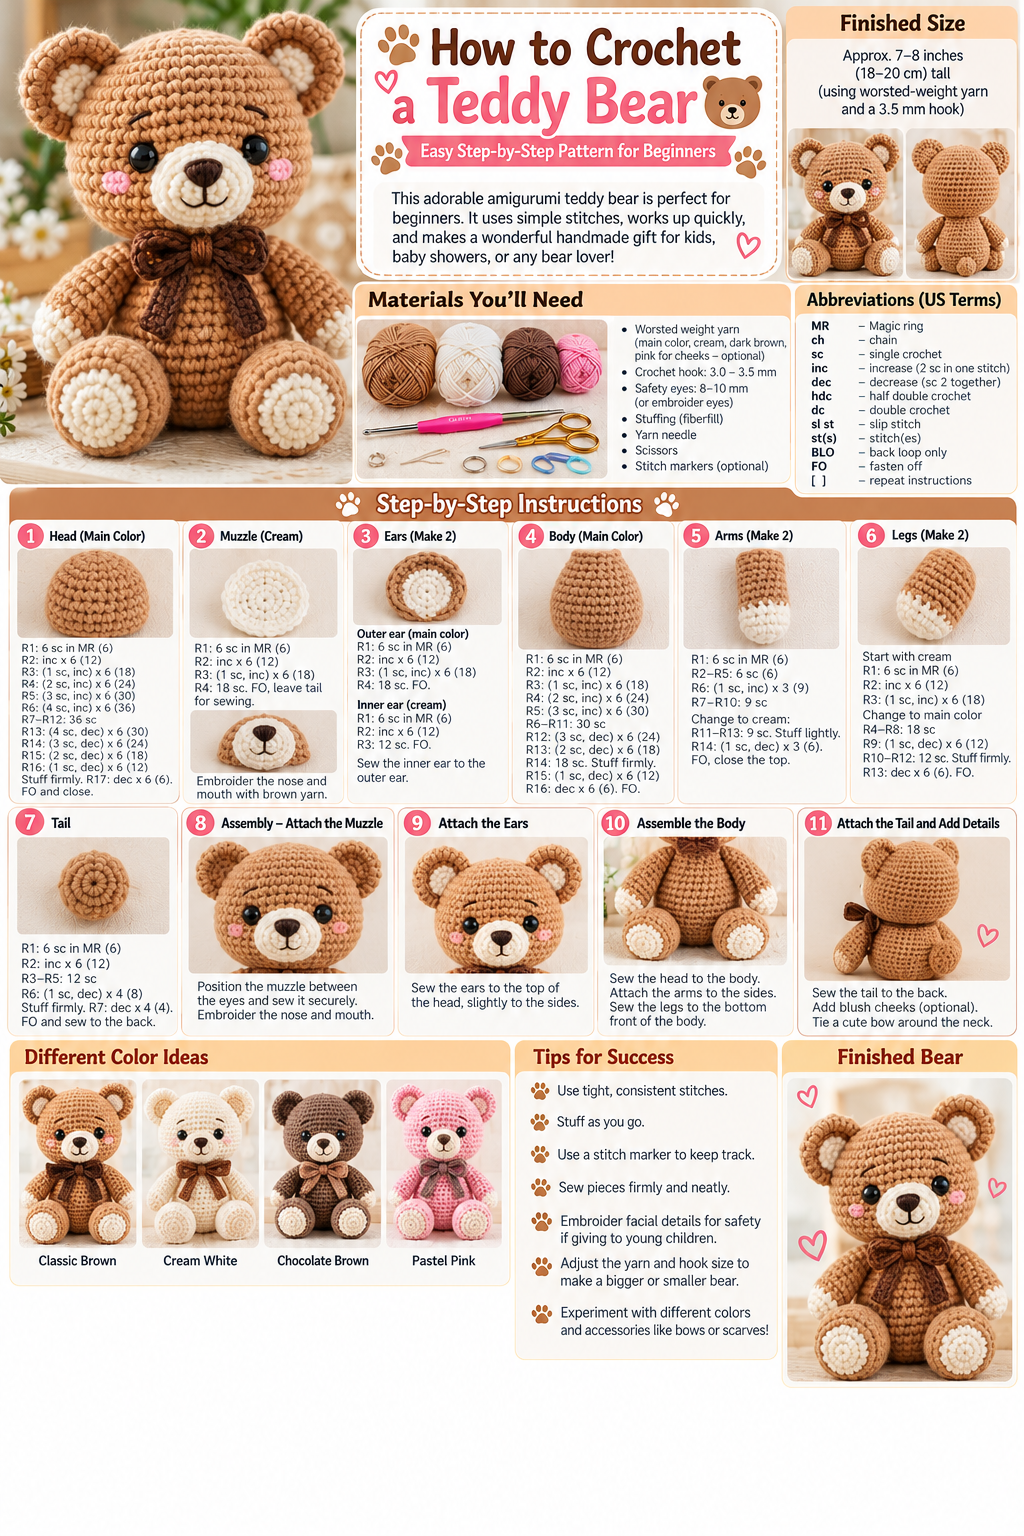
Step-by-step visual inspiration for making a classic amigurumi teddy bear. Use the complete written pattern below for the stitch counts; illustrated instructions may differ.
Why You’ll Love This Easy Crochet Teddy Bear Pattern
Crocheting a teddy bear is an excellent way to develop your amigurumi skills while making something beautiful and meaningful.
Amigurumi is the craft of creating small stuffed figures using crochet or knitting techniques. Most amigurumi patterns rely on basic shapes such as spheres, cylinders, and ovals, which are gradually transformed into recognizable characters.
This teddy bear uses those same simple shapes. The head begins as a crocheted sphere, the body has a rounded pear-like shape, and the arms and legs are small stuffed cylinders.
Another great feature is the opportunity to customize your project. You can make a traditional brown teddy bear, a cream-colored bear, a pastel pink bear, or even a tiny bear using thinner yarn.
The repetitive stitches also make this project enjoyable for crocheters who want to practice maintaining consistent yarn tension and counting rounds.
Once you’ve completed your first teddy bear, the same techniques can help you create other animals, including bunnies, cats, puppies, and foxes.
Crochet Teddy Bear Pattern Overview
Skill level
Confident beginner
Estimated completion
4–6 hours
Estimated finished height
6–8 inches
Crochet terminology
US terms
Construction: Separate head, body, muzzle, ears, arms, legs, and tail.
Technique: Continuous spiral rounds.
Main stitch: Single crochet.
The exact finished height depends on yarn thickness, crochet hook size, stitch tension, and stuffing. The instructions below provide consistent stitch counts, but the finished measurements are approximate.
Materials Needed to Crochet a Teddy Bear

Before starting your handmade teddy bear, gather the following crochet materials.
| Material | Recommended Details |
|---|---|
| Caramel-brown yarn | Worsted weight, main bear color |
| Cream yarn | Muzzle, inner ears, and optional paw details |
| Dark brown yarn | Optional paw accents |
| Black or dark brown embroidery floss | Eyes, nose, and smile |
| Pink embroidery floss | Optional cheeks |
| 3.5 mm crochet hook | Main crochet hook |
| Polyester fiberfill | Stuffing the bear |
| Yarn needle | Sewing and finishing |
| Scissors | Cutting yarn |
| Stitch marker | Tracking crochet rounds |
Approximately 100–160 yards of main-color yarn, plus smaller amounts of the accent colors, is a reasonable planning estimate. Yarn use varies with your gauge and finished size.
Choosing the Best Yarn for a Crochet Teddy Bear
Smooth cotton or acrylic yarn is usually easiest for beginners.
Cotton provides clear stitch definition and helps the finished bear retain its shape. Acrylic yarn is soft, affordable, and available in many shades.
For a traditional teddy bear, choose warm caramel or light brown yarn. Ivory or cream makes an attractive contrast for the muzzle and ear details.
You can also use chenille yarn to create a plush, fluffy-looking bear, although chenille can make counting stitches more challenging.
When making amigurumi, choose a crochet hook smaller than the hook typically suggested for loose garments. Firm stitches help prevent stuffing from showing through the fabric.
Crochet Abbreviations You Need to Know
| Abbreviation | Meaning |
|---|---|
| MR | Magic ring |
| ch | Chain |
| sc | Single crochet |
| inc | Increase: 2 sc in one stitch |
| dec | Invisible decrease |
| sl st | Slip stitch |
| st(s) | Stitch(es) |
| FO | Fasten off |
| BLO | Back loops only |
| [ ] × number | Repeat the instructions |
The stitch count at the end of each round appears in parentheses.
For example, [2 sc, inc] × 6 (24) means to work two single crochets followed by an increase, repeating the sequence six times to finish with 24 stitches.
The main pattern is worked in continuous spirals, meaning you do not join each round with a slip stitch.
Step-by-Step Crochet Teddy Bear Pattern
Let’s start making your teddy bear!
The bear is constructed from separate crocheted pieces, which are stuffed and sewn together.
Step 1: Crochet the Teddy Bear’s Head

The head is the largest and most recognizable part of your teddy bear.
Using caramel-brown yarn, create a magic ring and work six single crochet stitches into it.
Follow these rounds:
- Round 1: 6 sc in MR (6).
- Round 2: Inc in every stitch (12).
- Round 3: [1 sc, inc] × 6 (18).
- Round 4: [2 sc, inc] × 6 (24).
- Round 5: [3 sc, inc] × 6 (30).
- Round 6: [4 sc, inc] × 6 (36).
- Round 7: [5 sc, inc] × 6 (42).
- Rounds 8–13: 42 sc in each round (42).
Your crocheted piece should now form a rounded cup.
If you’re embroidering the eyes, you can add them after finishing the head. This allows you to adjust the expression more easily.
Continue shaping:
- Round 14: [5 sc, dec] × 6 (36).
- Round 15: [4 sc, dec] × 6 (30).
- Round 16: [3 sc, dec] × 6 (24).
- Round 17: [2 sc, dec] × 6 (18).
Add small amounts of fiberfill and distribute the stuffing evenly.
- Round 18: [1 sc, dec] × 6 (12).
- Round 19: Dec around (6).
Fasten off, leaving a yarn tail. Thread the tail through the front loops of the six remaining stitches and pull gently to close the opening.
Weave the tail securely into the head.
Beginner tip: Do not overstuff the head. The finished piece should be firm and rounded without large gaps between stitches.
Step 2: Make the Cream-Colored Muzzle

The muzzle gives your teddy bear its classic friendly expression.
Using cream yarn:
- Round 1: 6 sc in MR (6).
- Round 2: Inc around (12).
- Round 3: [1 sc, inc] × 6 (18).
- Round 4: Sc around (18).
Fasten off, leaving a long tail for sewing.
Gently flatten the piece into a soft oval shape.
With dark brown embroidery floss, stitch a small triangular nose near the upper center of the muzzle.
Create a short vertical line beneath the nose and add a gentle curved smile using two small embroidery stitches.
Position the muzzle on the lower front of the bear’s head, centered beneath where the eyes will sit.
Sew around the edges securely. You can add a tiny amount of stuffing behind it before closing the last section to create a raised appearance.
Step 3: Crochet Two Teddy Bear Ears

Rounded ears are one of the sweetest features of a classic teddy bear.
Outer ear — make two:
Using brown yarn:
- Round 1: 6 sc in MR (6).
- Round 2: Inc around (12).
- Round 3: [1 sc, inc] × 6 (18).
- Round 4: Sc around (18).
Fasten off, leaving a long tail.
Flatten the ear rather than stuffing it.
Inner ear detail — make two:
Using cream yarn:
- Round 1: 6 sc in MR (6).
- Round 2: Inc around (12).
Fasten off, leaving a sewing tail.
Place each cream circle on the front of a brown ear and sew it neatly into position.
The result should be a rounded brown ear with a smaller cream center.
Repeat for the second ear.
Step 4: Crochet the Teddy Bear’s Body

The body is slightly smaller than the head, creating the cute proportions associated with amigurumi characters.
Using caramel-brown yarn:
- Round 1: 6 sc in MR (6).
- Round 2: Inc around (12).
- Round 3: [1 sc, inc] × 6 (18).
- Round 4: [2 sc, inc] × 6 (24).
- Round 5: [3 sc, inc] × 6 (30).
- Rounds 6–11: Sc around (30).
- Round 12: [3 sc, dec] × 6 (24).
- Round 13: [2 sc, dec] × 6 (18).
- Round 14: [1 sc, dec] × 6 (12).
Stuff the body firmly but evenly.
Fasten off, leaving a long sewing tail and keeping the top opening intact.
The remaining opening will help you secure the body to the head.
Step 5: Crochet the Teddy Bear’s Arms

Make two matching arms.
Begin with cream yarn to create the paw.
- Round 1: 6 sc in MR (6).
- Round 2: [1 sc, inc] × 3 (9).
- Round 3: Sc around (9).
Change to brown yarn.
- Rounds 4–9: Sc around (9).
- Round 10: [1 sc, dec] × 3 (6).
Stuff the lower part of each arm lightly.
Flatten the top opening.
You can sew the flattened opening closed using three small stitches through both layers.
Fasten off and leave a long tail for attaching the arm to the body.
Repeat for the second arm.
Step 6: Crochet the Teddy Bear’s Legs

The back legs are slightly larger than the arms, helping the teddy bear sit comfortably.
Make two legs.
Using cream yarn:
- Round 1: 6 sc in MR (6).
- Round 2: Inc around (12).
- Round 3: [1 sc, inc] × 6 (18).
Change to brown yarn.
- Rounds 4–7: Sc around (18).
- Round 8: [1 sc, dec] × 6 (12).
- Round 9: Sc around (12).
- Round 10: Dec around (6).
Stuff the leg before closing it.
Fasten off and draw the tail through the remaining stitches, closing the opening neatly.
Leave enough yarn for sewing the legs onto the lower body.
Repeat for the second leg.
Step 7: Make the Teddy Bear’s Tiny Tail

A tiny rounded tail adds a charming finishing detail.
Using brown yarn:
- Round 1: 6 sc in MR (6).
- Round 2: Inc around (12).
- Round 3: Sc around (12).
- Round 4: Dec around (6).
Add a small amount of stuffing.
Fasten off, leaving a long yarn tail for attaching the tail to the bear’s body.
Step 8: Assemble the Crochet Teddy Bear

Now it’s time to transform your separate crochet pieces into an adorable teddy bear.
Before sewing, arrange the head, body, ears, arms, legs, and tail on your work surface. This helps you decide how each piece should sit.
Attach the Head to the Body
Position the head above the narrower end of the body.
Thread the long yarn tail from the body through your yarn needle. Sew around the body opening, catching stitches near the bottom center of the head.
Make several passes to create a strong connection.
Check that the head sits straight and does not wobble excessively.
Attach the Arms
Position the arms on opposite sides of the upper body, just beneath the head.
Make sure the cream-colored paws face slightly forward.
Sew each arm securely through its flattened upper edge.
Try to keep both arms at the same height for a balanced appearance.
Attach the Legs
Position the two legs near the bottom front of the body.
Adjust them until your teddy bear can sit comfortably on a flat surface.
The cream-colored soles should face forward.
Sew the legs firmly to the lower body and weave in the remaining yarn tails.
Sew on the Ears
Place the ears on the upper sides of the head, approximately around rounds 5–8.
Angle them slightly outward.
Use the long brown yarn tails to attach the flattened bases securely to the head.
Check the bear from the front to make sure both ears appear even.
Attach the Tail
Position the small brown tail on the lower back of the body.
Sew it into place using several small stitches.
If your bear has trouble sitting upright, adjust the tail or legs before securing the final stitches.
Step 9: Embroider the Teddy Bear’s Eyes and Cheeks

Facial details are what give your handmade teddy bear its personality.
For a cheerful expression, embroider two small black eyes approximately between rounds 10 and 11 of the head, spaced about seven stitches apart. Adjust their position relative to the muzzle before securing the thread.
To create the eyes, make several short embroidery stitches in the same area until you achieve the desired oval shape.
You can also create sleepy eyes using two gently curved black lines.
For optional rosy cheeks, use a little pink embroidery floss and add two or three small horizontal stitches beneath the outer corners of the eyes.
Keep the stitches neat, and hide the yarn ends inside the head.
Toy safety: Embroidered facial features are preferable when making a bear for a young child. Plastic safety eyes, buttons, beads, and loosely attached decorations may become choking hazards.
Step 10: Add the Final Finishing Touches

Congratulations! Your adorable crochet teddy bear is complete.
Gently shape the head, body, arms, and legs with your hands. Smooth out any uneven stuffing and adjust the ears.
Check every attachment point to ensure the pieces are securely sewn together.
For an adult decorative bear, you could add a small crocheted bow or scarf. Keep these accessories removable only when the bear is intended for display, not for a young child.
Your teddy bear is now ready to become a handmade gift, a decorative companion, or a special addition to your amigurumi collection.
Creative Crochet Teddy Bear Color Ideas
Once you’ve mastered the basic pattern, experiment with different yarn shades.

Classic Brown Teddy Bear
Choose warm brown and cream yarn for a timeless look.

Cream White Bear
Use ivory and beige yarn to create a soft, elegant design.

Chocolate Brown Bear
Dark brown yarn gives your bear a cozy, traditional appearance.

Pastel Pink Teddy Bear
A playful variation for decorative gifts and crochet collections.
Tips for Making a Beautiful Amigurumi Teddy Bear
Maintain Consistent Yarn Tension
Consistent tension helps the stitches form a smooth, even fabric.
If your stitches are too loose, the fiberfill may show through. If they are too tight, inserting your crochet hook can become difficult.
Practice a few rounds of single crochet before beginning if you’re unfamiliar with crocheting in spirals.
Use Invisible Decreases
Invisible decreases are especially helpful for amigurumi because they minimize visible gaps.
Insert your hook through the front loops of the next two stitches, yarn over, and pull through both front loops. Yarn over again and complete the single crochet.
This creates a neater surface than some traditional decrease methods.
Count Your Stitches Every Round
Stitch counting is essential when shaping the head, body, arms, and legs.
An extra stitch can make one side larger, while a missed stitch may cause an unexpected narrowing.
Use a stitch marker and check your stitch count after every round containing increases or decreases.
Stuff the Pieces Evenly
Stuffing affects the shape of your finished teddy bear.
Add small pieces of fiberfill gradually, pushing them gently into the edges of each shape.
Avoid overstuffing, which can stretch the crochet fabric and make the stitches separate.
Sew Carefully
Assembly has a major influence on the finished bear’s appearance.
Before attaching each piece, temporarily position it using removable stitch markers.
Examine the bear from several angles before sewing permanently.
Common Teddy Bear Crochet Mistakes and How to Fix Them
Why Is My Teddy Bear’s Head Uneven?
Uneven head shaping often results from incorrect stitch counts or inconsistent yarn tension.
Check the increase and decrease rounds carefully. If the problem is minor, gently redistributing the stuffing may improve the shape.
Why Are My Teddy Bear’s Ears Different Sizes?
If the ears appear uneven, compare their stitch counts and completed rounds.
Make sure both pieces use the same yarn and crochet hook.
You can also adjust the positioning slightly during assembly.
Why Is the Stuffing Showing Through?
Visible stuffing usually indicates loose crochet stitches or excessive stuffing.
Use a smaller hook or reduce the amount of fiberfill.
Why Won’t My Bear Sit Upright?
Check that the legs are attached symmetrically near the lower front of the body.
A wide, balanced base can help the bear sit more comfortably.
How Do I Make a Bigger Crochet Teddy Bear?
You can use thicker yarn and an appropriately sized crochet hook while following the same stitch counts.
However, thicker yarn will increase the finished size and the amount of stuffing required.
How to Wash and Care for Your Handmade Crochet Bear
Proper care helps preserve the appearance and shape of your crochet teddy bear.
Always check the care instructions for your yarn before washing.
For delicate stuffed crochet items, gentle handwashing may be suitable.
Use cool water and a mild detergent, avoiding excessive rubbing or twisting.
After washing, gently squeeze out moisture using a clean towel.
Reshape the head, legs, and body, then allow the toy to air-dry completely.
Avoid storing a damp stuffed animal because moisture can remain trapped inside the fiberfill.
Inspect the seams and embroidery regularly, especially if the bear is handled frequently.
Frequently Asked Questions About Crochet Teddy Bear Patterns
Is this crochet teddy bear pattern beginner-friendly?
Yes. It’s designed for confident beginners who already understand basic crochet stitches, magic rings, increases, and decreases. The main challenge is assembling the separate pieces.
How long does it take to crochet a teddy bear?
A small teddy bear usually takes approximately four to six hours to complete, although beginners may need additional time.
What is the best yarn for crochet teddy bears?
Smooth cotton or acrylic yarn is ideal for beginners because it provides clear stitch definition and is available in many colors.
What crochet hook size should I use?
A 3.5 mm hook is a useful starting point for worsted-weight yarn. Adjust the hook size if needed to create firm stitches with minimal gaps.
How do I crochet a teddy bear without a magic ring?
Make two chains and crochet six single crochets into the second chain from your hook. This provides an alternative starting circle.
Can I make a teddy bear using chunky yarn?
Yes. Chunky yarn can create a larger, softer bear, but you may need a larger crochet hook and additional stuffing.
Can I crochet a teddy bear without sewing?
There are no-sew amigurumi patterns that incorporate limbs directly into the body. However, this particular design uses separate pieces sewn together.
Are crochet teddy bears suitable for babies?
A crocheted toy intended for a baby should have securely embroidered features, no detachable decorations, and durable seams. It must meet applicable toy-safety requirements. Stuffed animals should never be placed in an infant’s sleep space.
Can I sell teddy bears made from this pattern?
Generally, you can sell physical bears you personally crochet using this original pattern. Products intended for children must comply with relevant toy-safety and labeling requirements.
Can I make matching teddy bears in different colors?
Absolutely. Try cream, pink, gray, chocolate brown, or pastel lavender yarn to create a matching collection.
Final Thoughts: Create Your Own Adorable Crochet Teddy Bear
Learning how to crochet a teddy bear is a rewarding experience that combines creativity, patience, and practical crochet techniques.
From creating the rounded head and tiny ears to shaping the paws and sewing the finished animal together, each step helps you develop skills that can be used in future amigurumi projects.
This free crochet teddy bear pattern is a wonderful starting point for anyone who enjoys handmade stuffed animals and creative crochet gifts.
Once you’ve finished your first teddy bear, experiment with different colors, yarn weights, and facial expressions to give every creation a unique personality.
Remember that handmade projects don’t need to look identical. Small differences in stitching, shaping, and embroidery make each teddy bear special.
At Crochet Patterns Idea, we love sharing patterns that help beginners develop their skills while creating beautiful handmade projects.
Choose your favorite yarn, grab your crochet hook, and enjoy creating an adorable teddy bear one stitch at a time!