Easy Crochet Cat Pattern for Beginners – Cute Amigurumi Cat
Easy Crochet Cat Pattern for Beginners
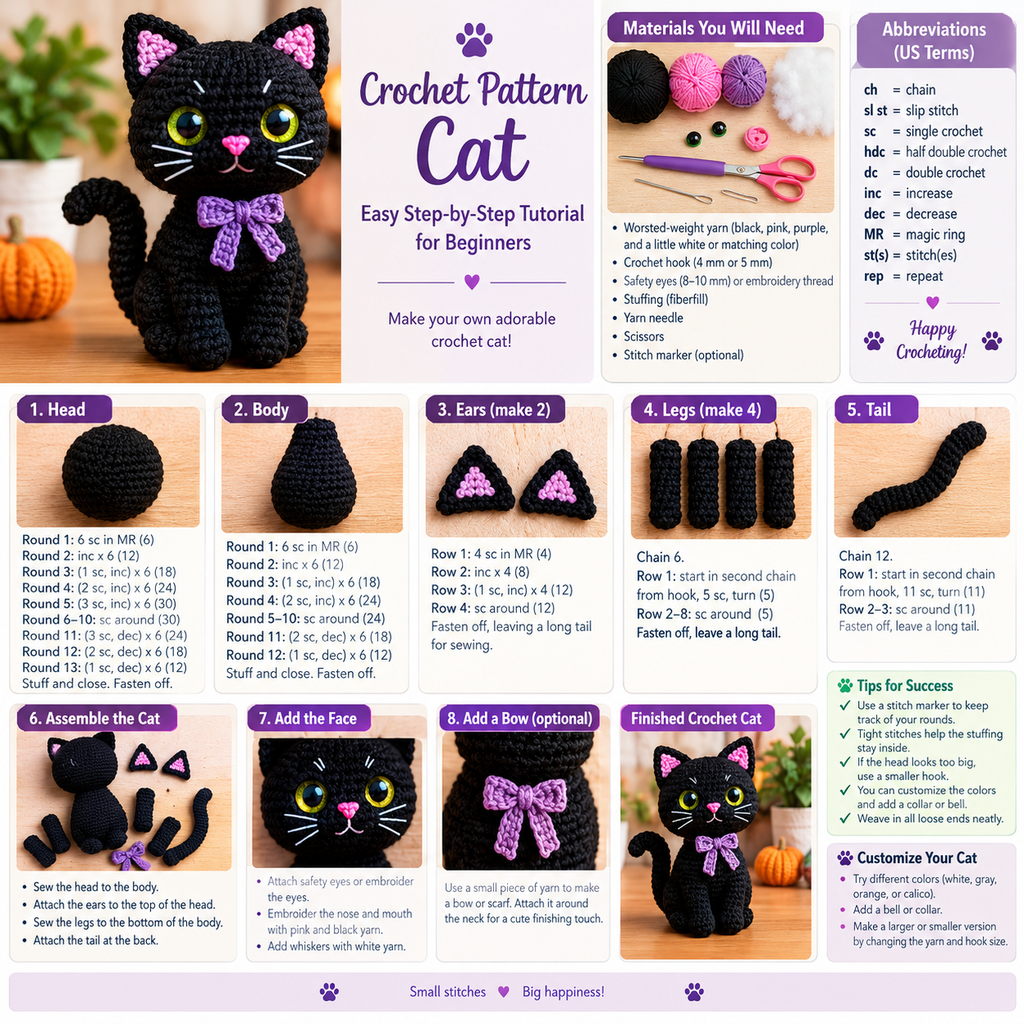
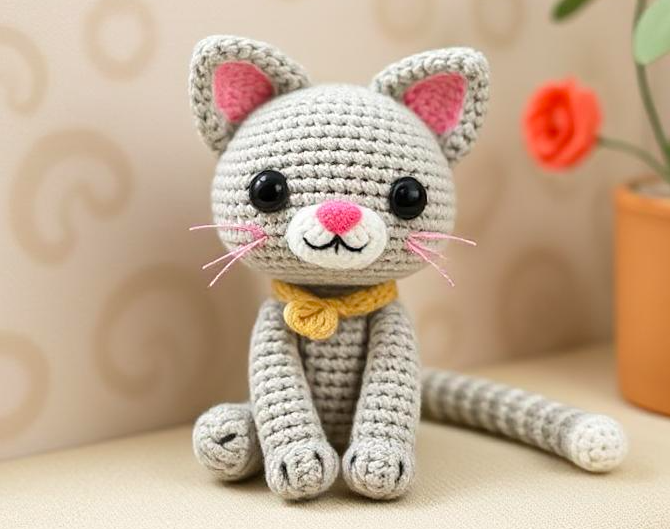
Make an adorable handmade crochet cat with this beginner-friendly amigurumi pattern. This cute cat is perfect as a handmade gift, a small decoration, or a fun project for crochet lovers.
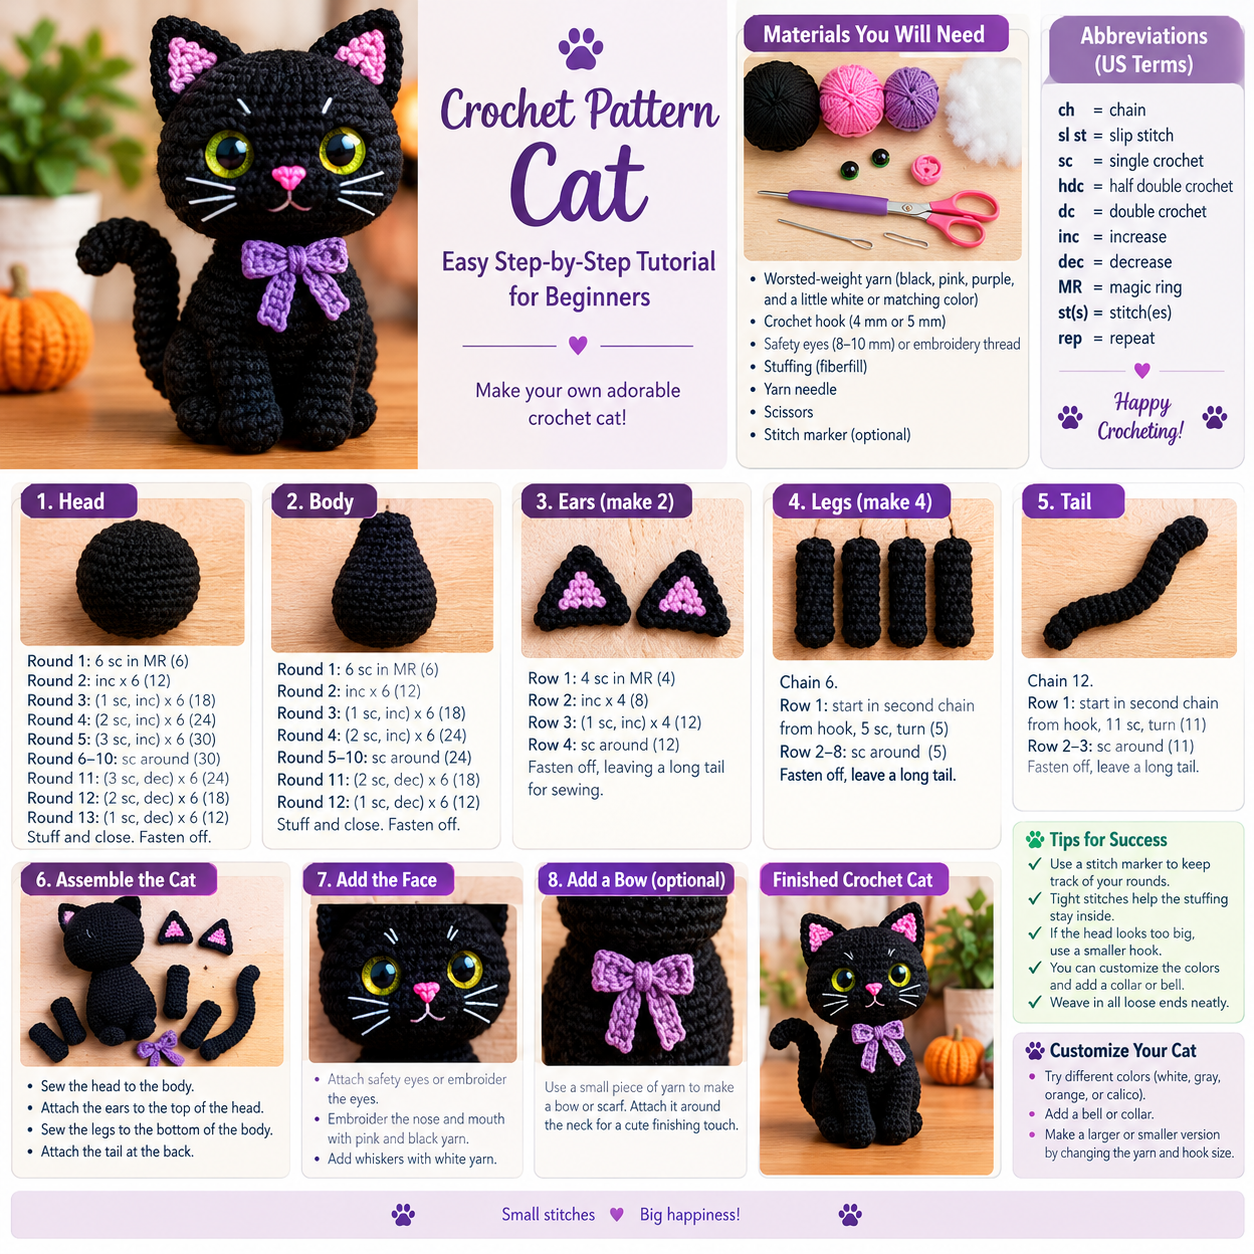
Materials
- Black or your favorite color of yarn
- 3.5–4 mm crochet hook suitable for your yarn
- Polyester stuffing
- Yarn needle
- Scissors
- Pink yarn for the nose and inner ears
- White yarn for the whiskers
- Safety eyes or embroidery thread
Abbreviations (US terms)
- MR: Magic ring
- sc: Single crochet
- inc: Increase (2 sc in one stitch)
- dec: Decrease (combine 2 stitches into 1)
- sl st: Slip stitch
- ch: Chain
- st: Stitch
Work in continuous rounds unless otherwise stated. Use a stitch marker to mark the first stitch of each round.
1. Crochet the Head
Using your main yarn:
- Round 1: 6 sc in MR (6)
- Round 2: Inc in each stitch (12)
- Round 3: (1 sc, inc) repeat 6 times (18)
- Round 4: (2 sc, inc) repeat 6 times (24)
- Round 5: (3 sc, inc) repeat 6 times (30)
- Rounds 6–10: Sc around (30)
- Round 11: (3 sc, dec) repeat 6 times (24)
- Round 12: (2 sc, dec) repeat 6 times (18)
- Round 13: (1 sc, dec) repeat 6 times (12)
Add the eyes and begin stuffing the head. Fasten off, leaving a long tail for sewing.
2. Crochet the Body
- Round 1: 6 sc in MR (6)
- Round 2: Inc in each stitch (12)
- Round 3: (1 sc, inc) repeat 6 times (18)
- Round 4: (2 sc, inc) repeat 6 times (24)
- Rounds 5–10: Sc around (24)
- Round 11: (2 sc, dec) repeat 6 times (18)
- Round 12: (1 sc, dec) repeat 6 times (12)
Stuff the body firmly but not too tightly. Fasten off, leaving a long tail for sewing the head onto the body.
3. Make Two Ears
- Round 1: 4 sc in MR (4)
- Round 2: (1 sc, inc) repeat 2 times (6)
- Round 3: (2 sc, inc) repeat 2 times (8)
Fasten off, leaving a long sewing tail. Flatten the ears and sew them onto the top of the head. Embroider a small pink triangle inside each ear if desired.
4. Make Four Legs
Make four small legs using your main yarn.
- Round 1: 6 sc in MR (6)
- Rounds 2–6: Sc around (6)
Add a little stuffing if desired. Fasten off, leaving a long tail for sewing. Attach two legs near the front of the body and two near the bottom.
5. Make the Tail
- Ch 12.
- Starting in the second chain from the hook, work 11 sc.
- Ch 1, turn, and work 11 sc for another row if you want a thicker, flatter tail.
Fasten off, leaving a long tail. Sew the tail to the back of the body. For a curled tail, shape it gently as you sew.
6. Assemble Your Cat
- Sew the head securely to the top of the body.
- Attach both ears symmetrically.
- Sew the four legs onto the body.
- Attach the tail at the back.
- Weave in all loose ends.
7. Add the Face
- Embroider a small pink nose.
- Use black yarn to embroider the mouth.
- Add white embroidered whiskers.
- Add eyebrows or tiny facial details if you like.
For toys intended for children under three, avoid safety eyes and other detachable small parts; embroider all facial features instead.
8. Optional Bow
Make a small bow using a contrasting yarn color.
- Ch 8.
- Row 1: Sc in the second chain from the hook and across (7).
- Ch 1, turn, and work 2–3 more rows of sc.
- Fasten off and wrap yarn around the center to form a bow.
Sew the bow securely around the cat’s neck.
Tips for Success
- Keep your stitches tight enough to prevent stuffing from showing.
- Count stitches at the end of each round.
- Use a smaller hook if large gaps appear in your fabric.
- Stuff gradually to avoid lumps.
- Sew parts securely and check the finished toy for loose pieces.
Conclusion
Your crochet cat is ready! Try different yarn colors, add a bow or collar, or make a whole family of cats in different sizes. This pattern is a lovely project for practicing basic amigurumi techniques.
Happy crocheting!