How to Crochet an Octopus: Easy Free Amigurumi Pattern for Beginners
Crochet Patterns Idea | Free Amigurumi Pattern | Beginner-Friendly Crochet Tutorial
Looking for an adorable ocean-inspired crochet project that’s fun, creative, and beginner-friendly? Learning how to crochet an octopus is a wonderful way to practice basic amigurumi techniques while making a charming handmade sea creature.
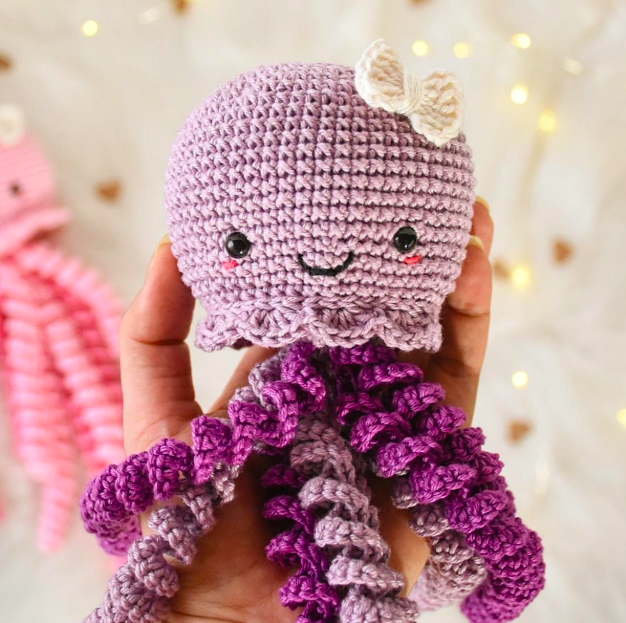
With its rounded lavender head, eight curly tentacles, tiny smiling face, and soft pink cheeks, this crochet octopus is full of personality. Whether you’re creating a handmade gift, decorating a bedroom shelf, or adding another animal to your crochet collection, this little octopus is sure to make you smile.
One of the best things about crocheting an octopus is that the design uses simple stitches and repetitive techniques. You don’t need complicated shaping or advanced crochet experience to create something beautiful.
This free crochet octopus pattern features a soft purple body, a cream-colored underside, and eight curled tentacles. You can also personalize your octopus with different colors, embroidered facial expressions, and decorative details.
In this complete tutorial from Crochet Patterns Idea, you’ll learn how to crochet the octopus body, create eight curly tentacles, add a contrasting bottom, embroider an adorable face, and assemble the finished project.
You’ll also find detailed stitch counts, materials, beginner tips, troubleshooting advice, creative variations, and frequently asked questions.
Step-by-Step Crochet Octopus Illustrated Tutorial
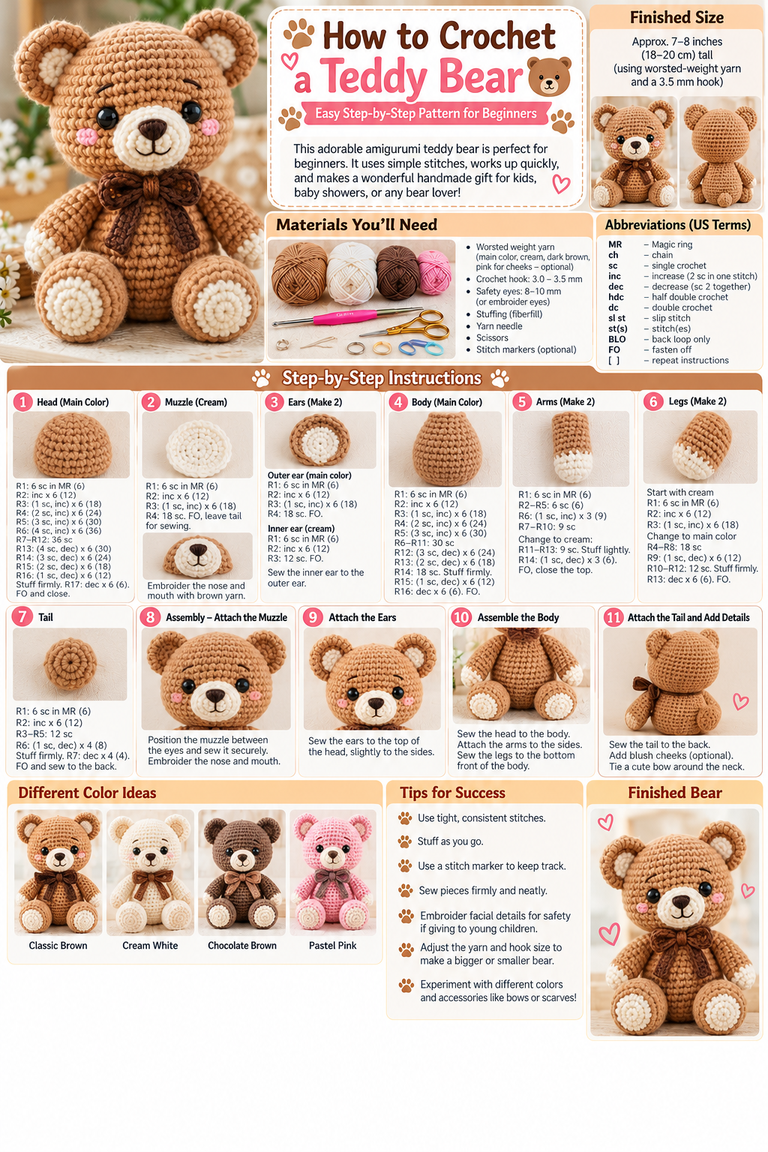
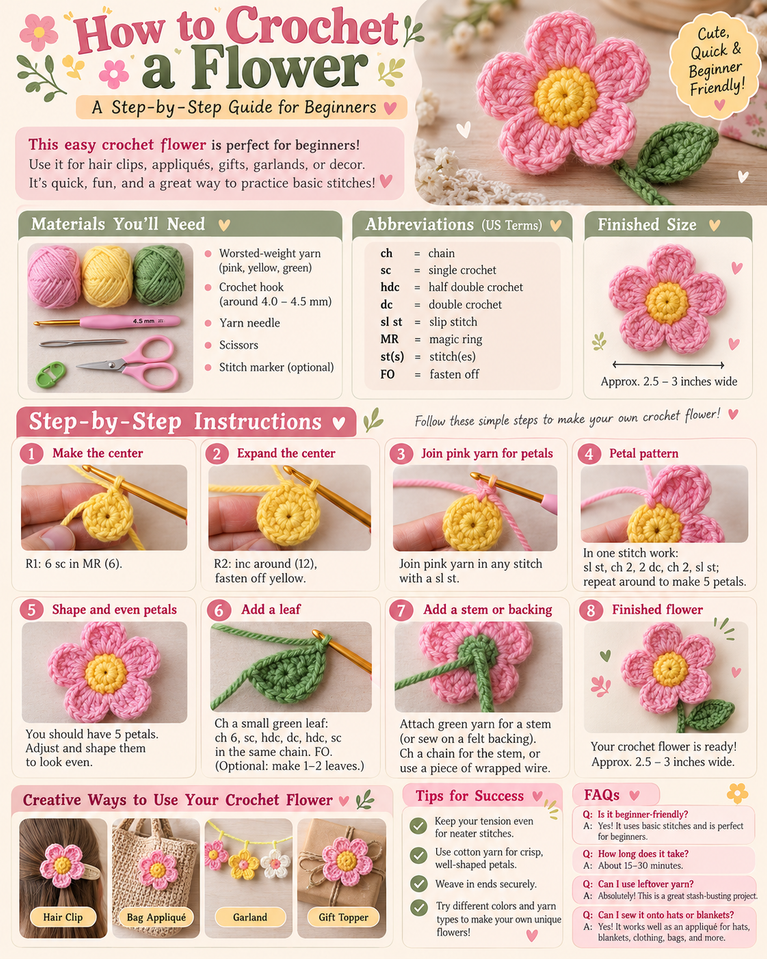
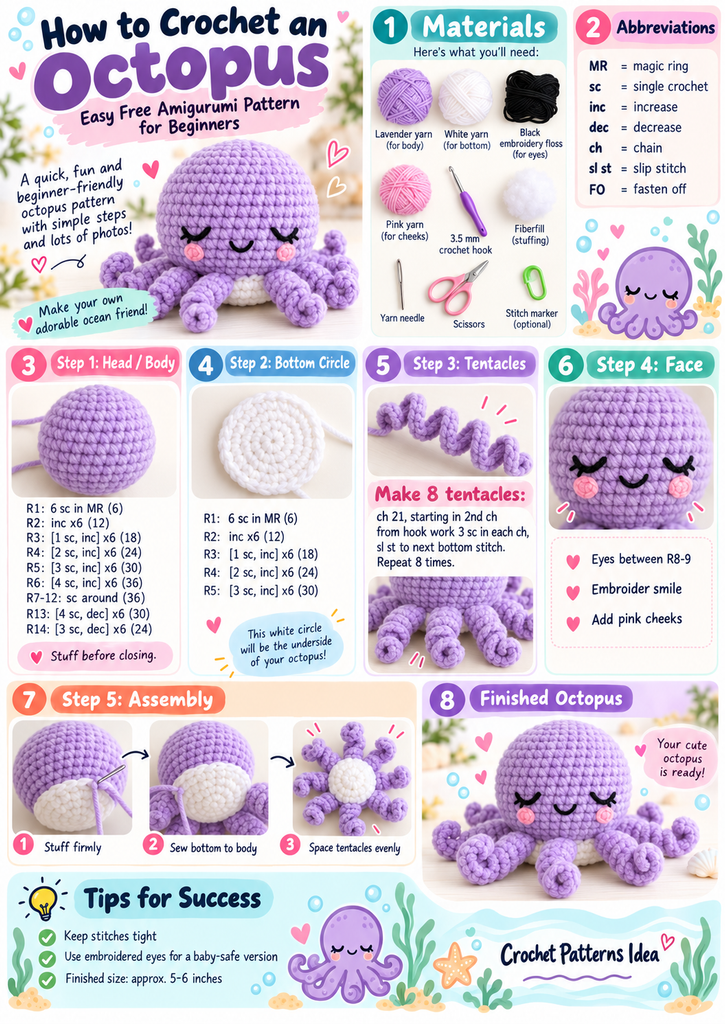
Illustrated crochet octopus tutorial showing lavender octopus, yarn materials, stitch abbreviations, round-by-round instructions, eight curly tentacles and assembly
Pastel lavender octopus with eight curly tentacles, a white underside, and embroidered facial features. This illustration is a visual companion; the complete written instructions below specify the stitch counts and assembly method.
Why You’ll Love This Easy Crochet Octopus Pattern
Crochet octopuses are popular amigurumi projects because they’re adorable, versatile, and enjoyable to make.
Unlike many stuffed animals that require separate arms, legs, ears, and tails, an octopus can be made using one large rounded body, a flat base, and eight curly tentacles.
This relatively simple construction makes the pattern suitable for confident beginners.
The head provides an opportunity to practice working in continuous rounds, increasing and decreasing stitches, and creating a smooth stuffed shape.
The curly tentacles are especially fun because their spiral appearance develops naturally as you work multiple stitches into each foundation chain.
Another advantage is that you can easily customize the project. Lavender creates a soft, playful octopus, while bright orange, turquoise, pastel pink, or mint green gives it a completely different appearance.
You can also change yarn thickness to make a tiny decorative octopus or a larger plush version.
Crochet Octopus Pattern Overview
Skill level
Confident beginner
Estimated time
2–4 hours
Finished size
Approximately 5–6 inches across
Terminology
US crochet terms
Construction: Stuffed lavender dome, cream-colored circular base, and eight crocheted spiral tentacles.
Main techniques: Single crochet, increases, decreases, chains, and sewing.
The finished measurements depend on yarn thickness, hook size, tension, and how tightly the tentacles curl.
Materials Needed to Crochet an Octopus

Gather your crochet supplies before beginning.
| Material | Purpose |
|---|---|
| Lavender worsted-weight yarn | Head and eight tentacles |
| Ivory white yarn | Underside |
| Black embroidery floss | Eyes and smile |
| Pink embroidery floss | Optional cheeks |
| 3.5 mm crochet hook | Main crochet work |
| Polyester fiberfill | Stuffing |
| Yarn needle | Sewing and finishing |
| Scissors | Cutting yarn |
| Stitch marker | Tracking rounds |
| Measuring tape | Optional size checking |
Approximately 80–130 yards of lavender yarn and 15–25 yards of white yarn are reasonable starting estimates. Actual amounts vary with the yarn and crocheting tension.
Choosing the Best Yarn for a Crochet Octopus
Smooth cotton or acrylic yarn is an excellent option for amigurumi.
Cotton yarn has clear stitch definition and helps the finished octopus maintain its shape.
Acrylic yarn is soft, affordable, and widely available in beautiful colors.
Chenille yarn can create a fluffy plush octopus, but it may be more challenging for beginners because individual stitches are harder to see.
For your first project, smooth worsted-weight yarn is a practical choice.
Use a crochet hook that creates firm stitches without large gaps. This helps prevent stuffing from showing through the head.
Basic Crochet Abbreviations
| Abbreviation | Meaning |
|---|---|
| MR | Magic ring |
| ch | Chain |
| sc | Single crochet |
| inc | Increase: 2 sc in one stitch |
| dec | Invisible decrease |
| sl st | Slip stitch |
| st(s) | Stitch(es) |
| FO | Fasten off |
| BLO | Back loops only |
| [ ] × number | Repeat instructions |
Numbers in parentheses indicate the stitch total at the end of each round.
For example, [3 sc, inc] × 6 (30) means to work three single crochets followed by an increase, repeating six times for a total of 30 stitches.
The main body is worked in continuous spiral rounds without joining.
Step-by-Step Instructions: How to Crochet an Octopus
This pattern creates one round lavender octopus with eight curly tentacles and a cream underside.
Step 1: Make the Magic Ring

Begin with lavender yarn.
Create a magic ring by forming a loop of yarn around your fingers.
Insert your hook into the loop, pull up the working yarn, and chain one to secure it.
Work six single crochet stitches into the magic ring.
Round 1: 6 sc in MR (6).
Pull the loose tail gently to close the center.
Place a stitch marker in the first stitch of the round.
If you find the magic ring difficult, create two chains and work six single crochets into the second chain from your hook.
Both methods provide a circular starting point.
Step 2: Crochet the Rounded Octopus Head

Now increase the stitches to create the octopus’s rounded head.
Using lavender yarn:
- Round 1: 6 sc in MR (6).
- Round 2: Inc in every stitch (12).
- Round 3: [1 sc, inc] × 6 (18).
- Round 4: [2 sc, inc] × 6 (24).
- Round 5: [3 sc, inc] × 6 (30).
- Round 6: [4 sc, inc] × 6 (36).
- Rounds 7–12: Sc around (36).
The crocheted piece should form a shallow dome with a rounded top.
Continue shaping the lower section:
– Round 13: [4 sc, dec] × 6 (30).
Stop here, leaving the bottom open.
Do not fasten off yet.
The opening should contain 30 stitches, which will match the circular underside created later.
The even rounds provide enough height for the octopus’s face, while the final decrease helps create a rounded lower edge.
Step 3: Create the White Bottom Circle

The white bottom provides contrast and helps close the stuffed head.
Using ivory white yarn, create a new magic ring.
- Round 1: 6 sc in MR (6).
- Round 2: Inc around (12).
- Round 3: [1 sc, inc] × 6 (18).
- Round 4: [2 sc, inc] × 6 (24).
- Round 5: [3 sc, inc] × 6 (30).
Fasten off, leaving a long tail for joining.
You should now have a flat circular disc containing 30 stitches along the outer edge.
Place the white circle against the opening of the lavender head.
Both pieces should have matching stitch counts.
If one piece appears slightly larger, gently adjust the fabric rather than stretching it aggressively.
The white circle will be sewn onto the bottom after adding the tentacles and stuffing.
Step 4: Crochet the Eight Curly Tentacles

The curly tentacles are one of the most enjoyable parts of making a crochet octopus.
Each tentacle begins as a simple foundation chain.
Working multiple single crochet stitches into every chain creates extra fabric, causing the strip to curl naturally.
Tentacle pattern — make eight:
- Using lavender yarn, chain 21.
- Starting in the second chain from your hook, work three single crochet stitches into that chain.
- Continue working three single crochet stitches into each of the remaining 19 chains.
- You should finish with 60 single crochet stitches along the foundation chain.
- Fasten off, leaving an approximately eight-inch yarn tail for sewing.
The finished tentacle should curl naturally into a spiral.
Repeat until you have eight matching pieces.
How to Make the Tentacles Curl Evenly
Try to maintain the same tension for every tentacle.
If one tentacle curls more tightly than another, it may be due to differences in yarn tension.
You can gently shape the spirals with your fingers after finishing.
Avoid pulling the tentacles too firmly, since this may stretch the stitches.
Important safety note: Long curly tentacles can create entanglement hazards for infants. This decorative octopus pattern is not intended for use in cribs, incubators, or other infant sleep spaces. Do not treat the tentacles as medically approved neonatal accessories.
Step 5: Attach the Tentacles Around the Body

Before closing the octopus body, position the tentacles around its lower edge.
The body opening has 30 stitches, so the eight tentacles can be distributed approximately evenly around the circumference.
Place the tentacles at the following approximate stitch positions:
| Tentacle | Attachment position |
|---|---|
| 1 | Stitch 1 |
| 2 | Stitch 5 |
| 3 | Stitch 9 |
| 4 | Stitch 13 |
| 5 | Stitch 16 |
| 6 | Stitch 20 |
| 7 | Stitch 24 |
| 8 | Stitch 28 |
These positions provide spaces of three or four stitches between the tentacle attachment points.
Using each tentacle’s yarn tail, sew its base securely to the lavender body near the opening.
Make several passes through the attachment area.
When all eight tentacles are attached, check that they radiate outward evenly.
Step 6: Add the Octopus’s Embroidered Face

The octopus’s facial expression gives it its adorable personality.
Using black embroidery floss, create two sleepy eyes approximately between rounds 8 and 9 of the lavender body.
For each eye, work a gently curved line with short embroidery stitches.
You can add two tiny eyelashes at the outer edge of each eye.
Position the eyes approximately seven or eight stitches apart.
Next, embroider a small curved smile approximately two rows below the eyes.
For pink cheeks, use pink embroidery thread and create two or three short horizontal stitches beneath the outer corners of the eyes.
Secure all embroidery tails on the inside of the body.
Embroidered facial features are preferable to plastic eyes when you want to avoid detachable components, although the finished toy still requires appropriate safety assessment before being given to a young child.
Step 7: Stuff the Octopus Head

With the tentacles attached and facial details complete, begin stuffing the body.
Add small pieces of polyester fiberfill through the open bottom.
Spread the stuffing evenly toward the rounded top and around the sides.
Avoid adding one large clump because this may cause uneven shaping.
Your octopus should feel soft but firm enough to maintain its rounded dome.
Do not overstuff the body. Excess fiberfill may stretch the crochet stitches and cause gaps.
Before closing the opening, examine the face and redistribute the stuffing if necessary.
Step 8: Sew the White Bottom to the Body

Now attach the white circular base to the open underside of the lavender body.
Both pieces contain 30 edge stitches.
Position the white circle against the opening, with the tentacle bases arranged around its outside edge.
Thread the long white yarn tail through a tapestry needle.
Sew one stitch of the white circle to the corresponding stitch of the lavender body.
Continue matching the stitches around the opening.
Use small, secure stitches and avoid pulling too tightly.
Before completing the final section, check that the stuffing is evenly distributed.
Finish sewing the remaining stitches, then weave the yarn tail securely into the body.
The result should be a rounded lavender head with a neat white underside and eight curly tentacles.
Step 9: Adjust the Curly Tentacles

Place your octopus on a flat surface.
Gently spread the eight tentacles around the body.
Check that they are evenly spaced and curl naturally.
If some tentacles are tighter than others, adjust them gently by hand.
You can also rotate the body slightly to find the most attractive front-facing position.
A balanced arrangement helps the octopus look fuller and more symmetrical.
Step 10: Finish Your Handmade Crochet Octopus

Congratulations! Your adorable crochet octopus is complete.
Gently shape the head with your hands and check that the white bottom is securely attached.
Make sure every tentacle is firmly sewn in place.
Your finished octopus should have a rounded lavender body, eight curly arms, a neat cream underside, and a sweet embroidered face.
You can display it on a shelf, add it to your amigurumi collection, or give it as a thoughtful decorative gift.