Free Crochet Tulip Pattern for Beginners – Easy Bouquet
Free Mini Crochet Tulip Pattern for Beginners – Cute DIY Flower Bouquet
BEGINNER FRIENDLY • NO-SEW FLOWER HEAD • US CROCHET TERMS
Imagine creating a bouquet of flowers that never wilt. This easy crochet tulip pattern is a lovely way to turn a few balls of yarn into a handmade gift that can brighten a desk, decorate a bedroom, or surprise someone special.
Unlike real flowers, crochet tulips can be enjoyed year after year. You can make one flower as a small keepsake or combine several in different colors to create a charming bouquet.
The tulip head is worked in continuous rounds using basic single crochet stitches, then shaped by closing the top. You’ll make the stem separately and attach it securely.
Materials you’ll need
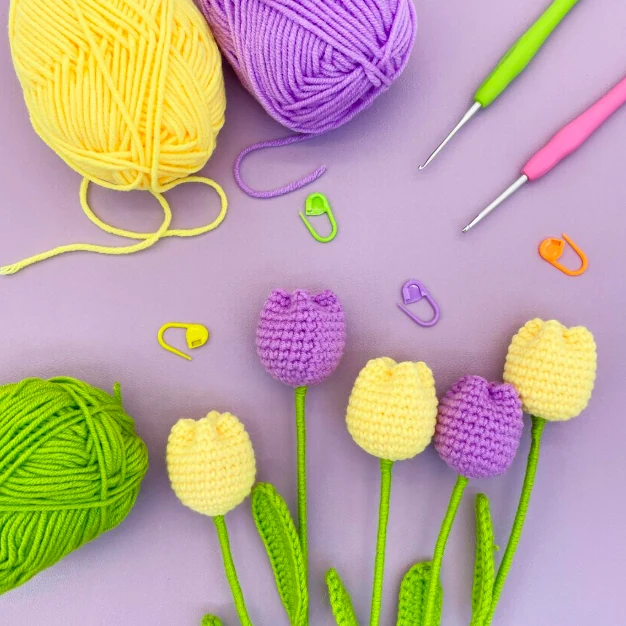
| Material | Details |
|---|---|
| Yarn | DK cotton yarn, Category 3 |
| Hook | 3.0 mm |
| Flower color | Pink, lavender, yellow, or cream |
| Stem color | Green |
| Stuffing | Small amount of polyester fiberfill |
| Stem support | Optional floral wire, ends safely covered |
| Other tools | Yarn needle, scissors, stitch marker |
Crochet abbreviations
| Term | Meaning |
|---|---|
| MR | Magic ring |
| sc | Single crochet |
| inc | 2 sc in the same stitch |
| dec | Invisible single crochet decrease |
| sl st | Slip stitch |
| FO | Fasten off |
Step 1: Crochet the tulip flower head
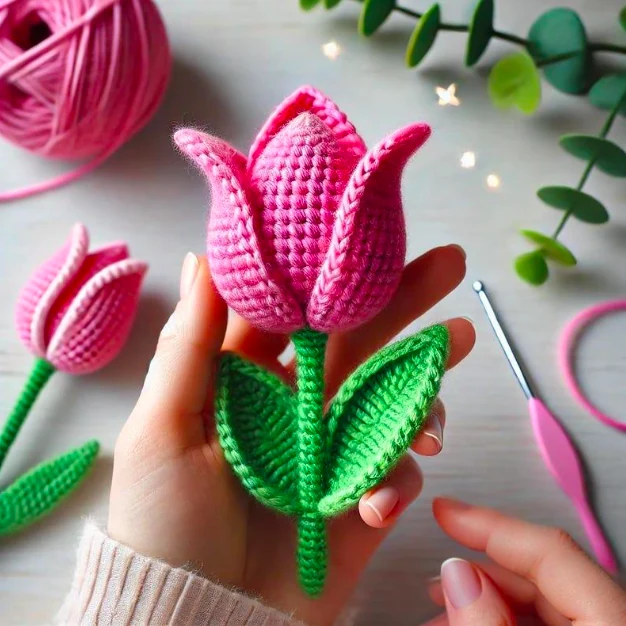
Use your chosen flower color. Work in continuous spiral rounds, using a stitch marker to identify the first stitch.
Round 1: Make 6 sc in a magic ring. (6)
Round 2: Inc in every stitch around. (12)
Round 3: (1 sc, inc) repeat 6 times. (18)
Round 4: (2 sc, inc) repeat 6 times. (24)
Round 5: (3 sc, inc) repeat 6 times. (30)
Rounds 6–12: Work 1 sc in every stitch around. (30 each round)
The result should be a small, open, cup-shaped flower bud. Do not fasten off yet.
Step 2: Shape the tulip petals
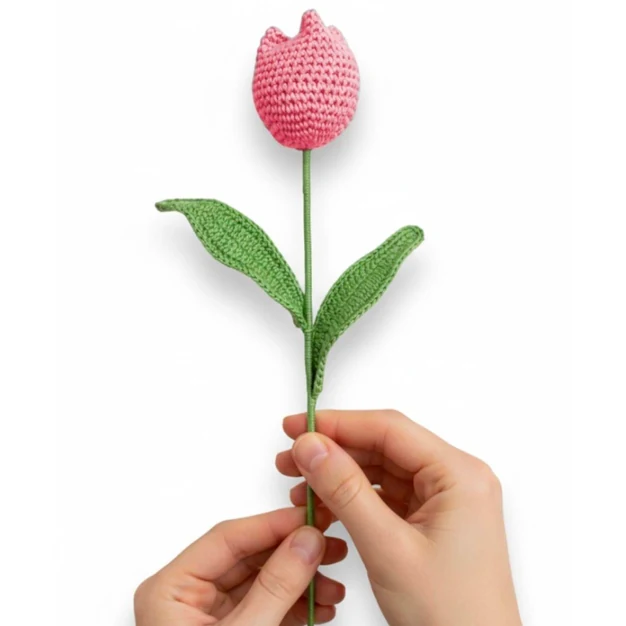
Add a small amount of stuffing to the lower part of the flower. Keep the upper section flexible so the petals can be shaped.
Flatten the opening gently, aligning the front and back edges. With a yarn needle and the working yarn, close the top using a few stitches that bring four evenly spaced points toward the center, creating the characteristic tulip shape.
For a more defined four-point closure, mark four positions around the 30-stitch opening, approximately 7 or 8 stitches apart. Bring those points together with several secure stitches, adjusting the fabric until four soft lobes form.
Fasten off and hide the yarn tail inside the flower.
Step 3: Make the crochet stem
Using green yarn, make a magic ring.
Round 1: Work 6 sc into the ring. (6)
Rounds 2–25: Work 1 sc in each stitch around. (6)
Fasten off, leaving a long tail for attachment.
This creates a short, narrow crochet stem. You can add more rounds if you’d like a taller flower.
For a firmer stem, insert a suitably sized craft stem support with all ends covered and secured. Omit wire entirely when making a child-safe decorative project.
Step 4: Assemble your crochet tulip
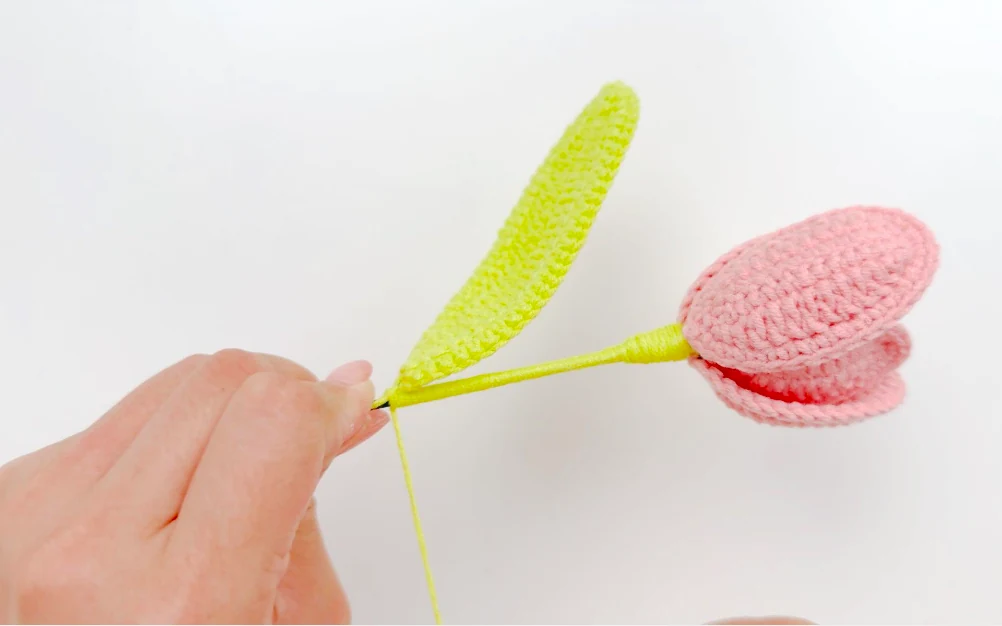
Position the open end of the stem at the center of the underside of the tulip head.
Use the long green yarn tail to sew the stem securely to the flower, stitching through the stem’s upper edge and the lower stitches of the tulip.
Make several passes around the attachment point so the flower stays upright. Weave the remaining yarn tail into the stem.
Your first crochet tulip is finished.
Step 5: Make a colorful bouquet
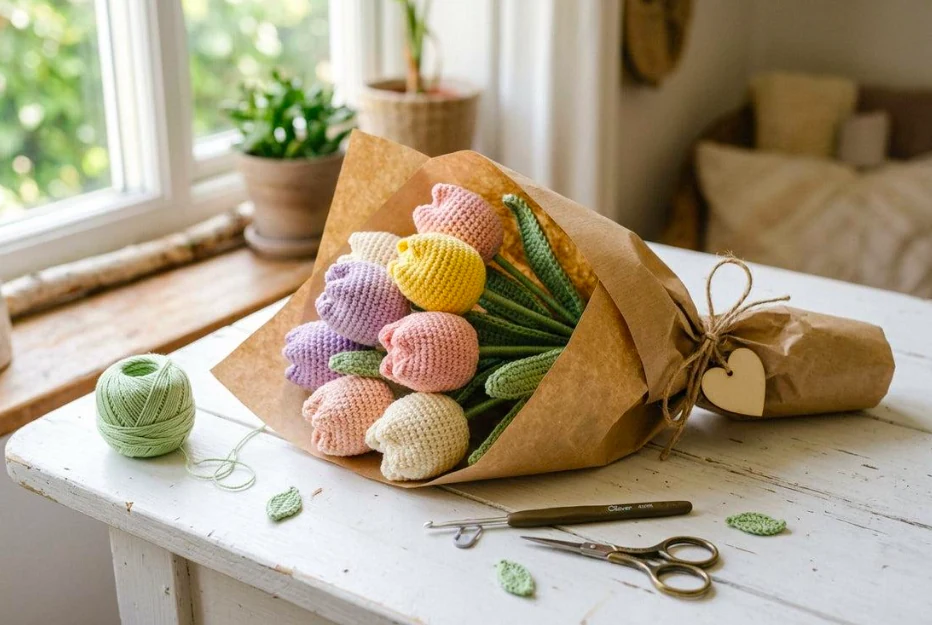
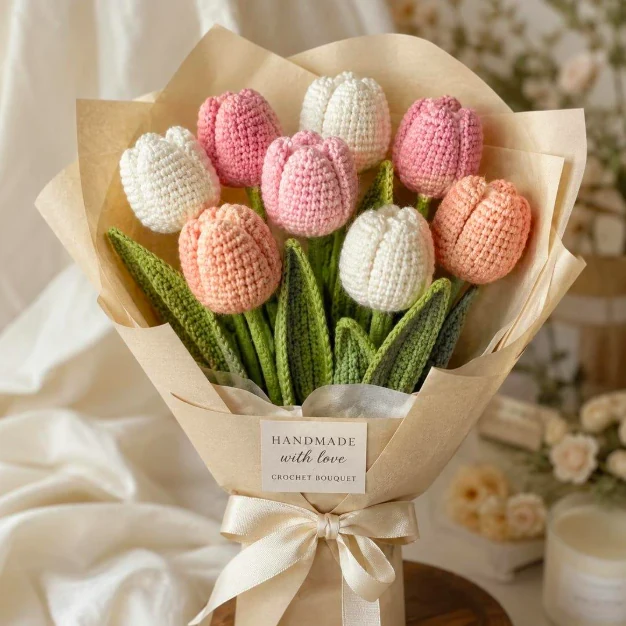
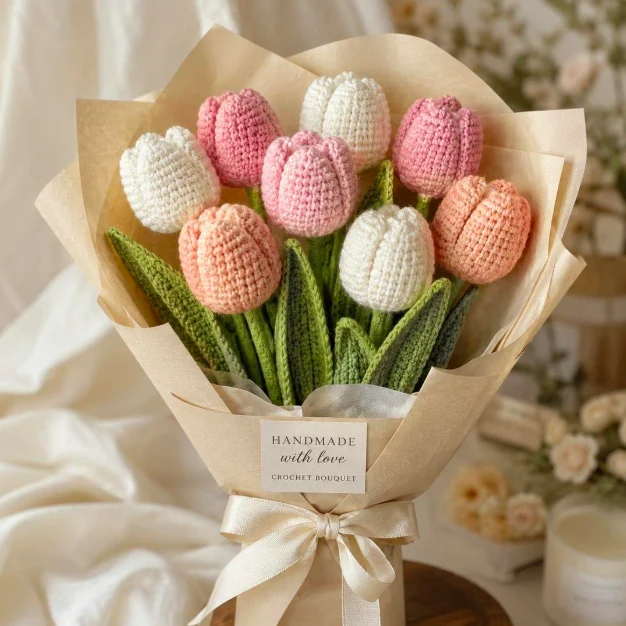
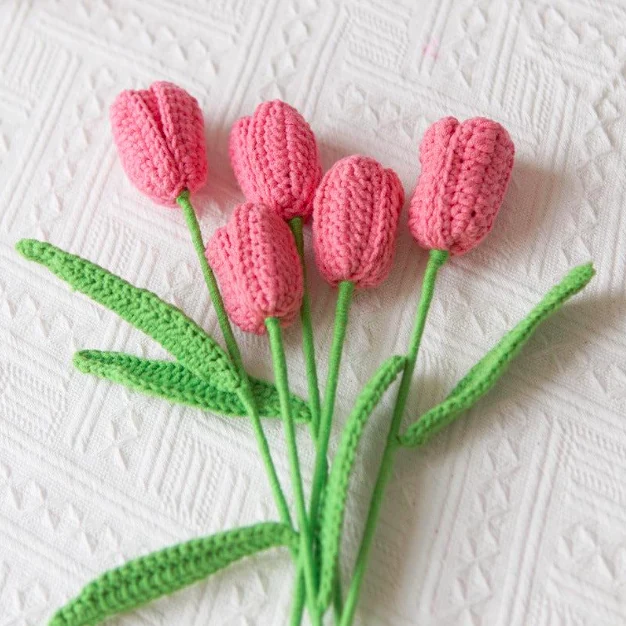
Repeat the pattern to make five or seven tulips in complementary colors. Pastel pink, butter yellow, lavender, and cream make a soft spring-inspired palette.
Arrange the tulips at slightly different heights and tie them together with a ribbon. You can display them in a small vase or wrap them in kraft paper for a handmade gift.
For a more decorative bouquet, add crocheted leaves, a personalized gift tag, or a matching ribbon.