The Granny Square Market Bag
The Granny Square Market Bag: A Crochet Project You Can Finish in a Weekend
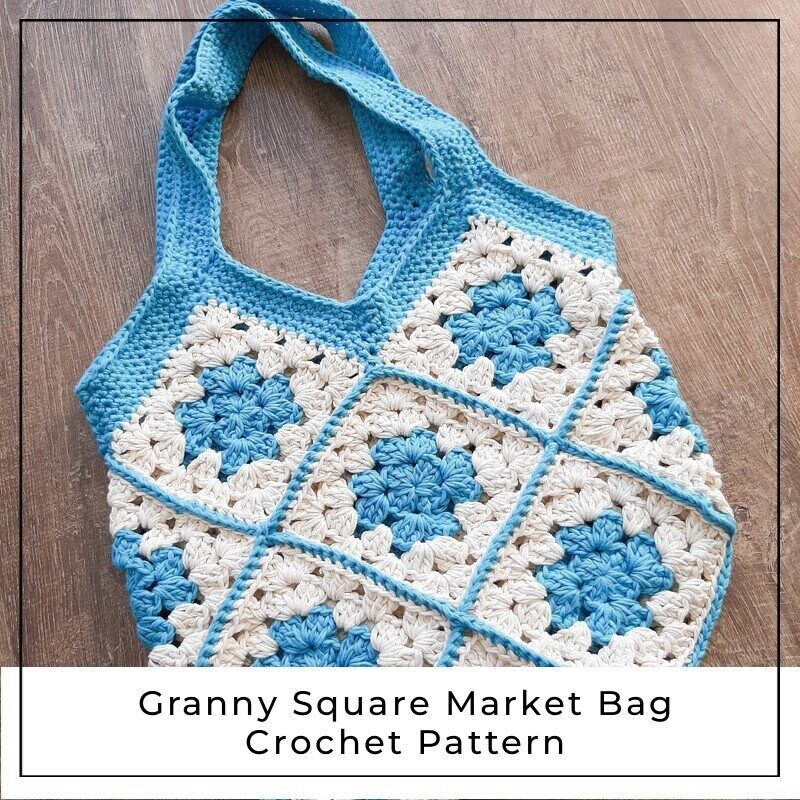
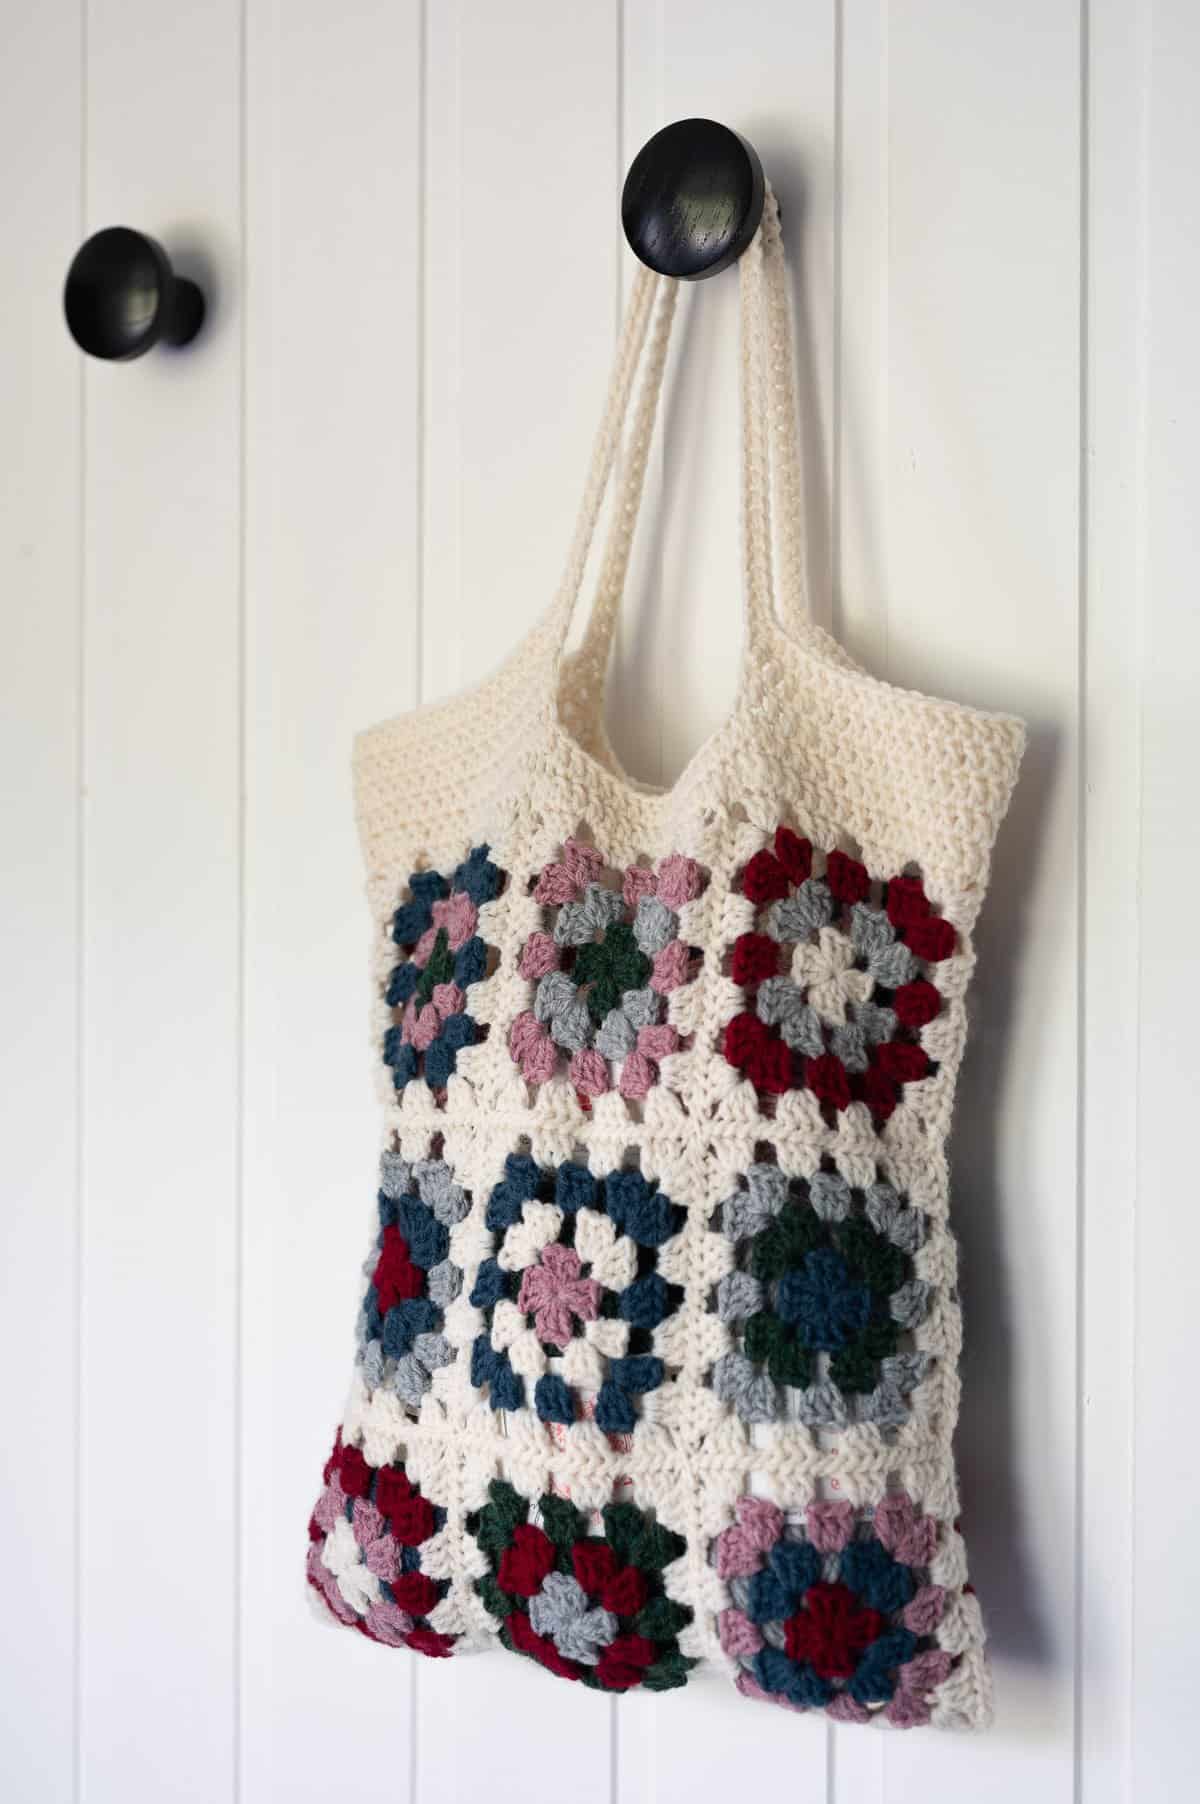
There’s a moment every crocheter remembers: the first time a pile of yarn turns into something you can actually carry out the door. The granny square market bag is a great project for that moment. It looks like something you’d buy at a craft fair, but it’s made from one simple motif repeated over and over. If you can make a chain and a double crochet, you can make this bag.
Granny squares have been around for generations, and they’ve never really gone out of style. They’re forgiving, portable, and a little addictive. You make one, then think “just one more,” and suddenly you have eight. This bag takes ten, plus a handle.
What You’ll Need
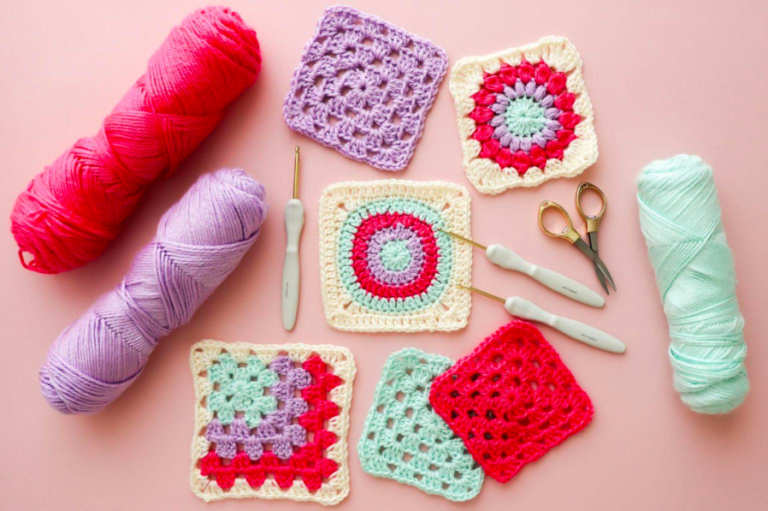
Yarn: About 300 grams (roughly 600 yards) of worsted-weight cotton. Cotton matters here. It’s sturdy, it doesn’t stretch out under the weight of groceries, and it washes well. You can use one color or go wild with scraps. A good mix is four colors: one for the centers, two for the middle rounds, and one neutral for the final round and the handles.
Hook: A 4.5 mm (US 7) hook. If you crochet tightly, go up a size. A slightly loose fabric is nicer for a bag, because it’s flexible and has a bit of drape.
Other supplies: A yarn needle for weaving in ends, scissors, and a few stitch markers. A tape measure helps but isn’t essential.
Finished size: Around 35 cm wide and 38 cm tall, with handles that sit comfortably on the shoulder. It stretches, so it holds more than you’d expect.
The Stitches You Need
You only need four:
- Chain (ch): the foundation of nearly everything
- Slip stitch (sl st): used to join rounds and move across a row
- Double crochet (dc): the workhorse stitch of the granny square
- Magic ring or a simple chain loop: how you start the center
If the double crochet is new to you, practice it on a short chain first. Yarn over, insert the hook, yarn over and pull through, then yarn over and pull through two loops twice. Once you’ve done about twenty, your hands will start remembering it.
Step 1: Start the Center
Make a magic ring. If that feels fiddly, chain 4 and join with a slip stitch to form a small circle. Both work. The ring pulls tighter, which looks neater, but the chain loop is fine for a first attempt.
Round 1: Chain 3. This counts as your first double crochet. Work 2 more dc into the ring, then chain 2. Work 3 dc, chain 2, 3 dc, chain 2, 3 dc, chain 2. Join to the top of your starting chain with a slip stitch.
You should have four little clusters of three stitches, separated by four chain-2 gaps. Those gaps are your corners. Pull the ring tight and you’ll see a small square starting to take shape, even if it looks a bit lopsided at this stage.
Step 2: Build Out the Second Round
Change colors if you like. To do that, pull a loop of the new yarn through the last loop on your hook, leaving a tail of about 10 cm that you’ll weave in later.
Round 2: Slip stitch across to the nearest chain-2 corner space. Chain 3, then work 2 dc in that same space. Chain 2, then work 3 dc in the same space again. That’s your first corner done.
Now move to the next corner space. Work 3 dc, chain 2, 3 dc. Repeat for the remaining corners, then join with a slip stitch to the top of your starting chain.
The pattern is the same every round. Each corner gets 3 dc, chain 2, 3 dc, and in the stretches between corners you work 3 dc into each chain space from the previous round. That’s really all there is to it.
Step 3: Keep Going Until Square Number One Is Done
Continue the same way for rounds 3, 4 and 5. Each new round adds a cluster along each side, so the square grows steadily bigger.
A couple of habits will save you frustration:
- Count your clusters. After each round, each side should have one more cluster than before. If something looks off, it’s much easier to fix now than three rounds later.
- Turn your work or don’t. Some crocheters turn after every round for a more structured look. Others keep working on the same side. Either is fine, but pick one and stay consistent across all ten squares.
- Watch your corners. If they look pointy or gappy, check that you’re putting stitches into the chain space, not around the chain.
Aim for squares that measure about 12 cm across after five rounds. Fasten off, leaving a tail, and weave in your ends right away. Ten squares with forty loose ends is a miserable afternoon, so do them as you go.
Step 4: Make All Ten Squares
This is the meditative part. Put on a podcast or a movie and just make squares. Keep a ruler nearby and check that each one comes out close to the same size. A difference of a centimeter or so is fine, since you can block them, but much bigger than that makes joining harder.
If you want an extra bit of polish, block each square. Pin it flat, mist it lightly with water, and leave it overnight. Cotton relaxes and the edges straighten out, which makes everything line up better later.
Step 5: Join the Squares
Lay out your squares before you stitch anything. For the body of the bag, you’ll want two panels of four squares each (two across, two tall, so two panels of four make eight), with the remaining two squares used for the base.
There are several ways to join squares. A few popular ones:
- Whip stitch: sew them together with a needle. Quick, but the seam can be a bit stiff.
- Slip stitch join: crochet the squares together from the wrong side. Neat and strong.
- Flat braid join: a decorative method that makes a raised, braided seam. It’s beautiful and gives the finished bag a handmade feel.
For a bag that will carry weight, I like the slip stitch join on the wrong side. Hold two squares with right sides together, insert your hook through both loops of the corresponding stitches, and slip stitch along the edge. Work through the back loops only if you want a flatter seam.
Join the squares into two flat panels first. Then join the two panels along the sides and bottom, using the base squares to give the bag its depth. Take your time at the corners where four squares meet. A common beginner mistake is skipping a stitch there, which leaves a small hole. Check the join from both sides.
Step 6: Edge the Top
With the bag assembled, you’ll finish the top so it’s strong and tidy.
Attach your neutral yarn at any corner. Work a round of single crochet all the way around the opening, putting one stitch in each stitch and two or three at each corner. This evens everything out. Then do a second round of single crochet. A double layer of edging keeps the top from flaring or sagging.
Don’t worry about perfection. If your stitch count around the top isn’t a nice round number, you can slightly increase or decrease in a few places to keep the edge flat.
Step 7: Make the Handles
Handles are where a bag succeeds or fails, so don’t rush them.
Chain 70 for a shoulder-length handle. Check it against your body, since this depends on how long you want the drop to be. Work single crochet back along the chain, then turn and work 4 or 5 more rows of single crochet so the handle becomes a sturdy strap about 2.5 cm wide.
Make two. Sew each one to the inside of the bag top, placing the ends about 8 cm from the side seams. Stitch them on firmly, going through the strap and the edging several times, and add a small square of stitching on each end for reinforcement. This is the spot that takes all the weight, so it deserves extra thread.
Step 8: Finishing Touches
Weave in any remaining ends. Give the whole bag a gentle steam or a damp press to even out the stitches. If you want a lining, you can sew a simple fabric one in, but plenty of people prefer the open, airy look, which is the whole charm of a market bag.
Other ideas for personalizing your bag:
- Add a crocheted flower or a tassel to the corner
- Use a gradient of one color family, going from light to dark across the rows
- Stitch a button and loop closure at the top
- Make a smaller version for a phone or a lunch bag, using only four or five squares
Common Problems and Easy Fixes
My squares are curling. This usually means your tension is too tight or your corners have too few stitches. Try a bigger hook and double-check that you’re making the full chain 2 at each corner.
My squares are different sizes. Keep your tension consistent, and block them. Stretching a square a little while pinning usually fixes a small difference.
The bag stretches out of shape. Cotton can sag when it’s heavy. Use a double edging round, and keep the handles firmly attached. For a firmer fabric, use a smaller hook.
I’m running out of yarn. Always buy a little more than you think you need, and check the dye lot number on the labels. Different lots can look slightly different, which shows up clearly in a granny square.
Why This Project Is Worth Your Time
The best thing about this bag is how much you learn without noticing. You practice counting, tension, joining, edging, and finishing, all in one project, and none of it feels like homework. By the end, you’ll have a bag that’s useful, handmade, and honestly lovely to carry.
It also scales. Once you’ve made one, you can try a different color palette, a different yarn weight, or a larger size. Squares are the building blocks of blankets, cushions, cardigans and more. Whatever you decide to make next, you’ll already know the basic shape.
So pick out a few colors you love, make that first magic ring, and enjoy the way the yarn starts to grow. By the time you’ve made your third square, it will feel as natural as breathing.
Happy hooking!